Fall is here, and that means it’s officially pumpkin season! What better way to celebrate than with a simple, no-fuss dessert that anyone can make? No-bake pumpkin cheesecake balls combine the creamy richness of cheesecake with the warm, spiced goodness of pumpkin. Best of all, there’s no need to turn on the oven—these sweet, bite-sized treats are ready in just a few simple steps. Whether you’re hosting a festive gathering or just craving something special, this recipe is sure to become a go-to favorite.
Introduction to No-Bake Pumpkin Cheesecake Balls
What Are No-Bake Pumpkin Cheesecake Balls?
Imagine all the creamy, tangy deliciousness of a pumpkin cheesecake, but in a fun, portable format—that’s no-bake pumpkin cheesecake balls. These bite-sized desserts are made with a blend of cream cheese, pumpkin puree, and warm spices like cinnamon and nutmeg, all coated in a smooth chocolate shell. Not only are they decadent, but they’re also incredibly versatile, making them perfect for any occasion.
Why Choose No-Bake Desserts?
Life’s busy, isn’t it? No-bake recipes like these pumpkin cheesecake balls are a lifesaver when you want a show-stopping dessert without the hassle. No need to monitor an oven or stress about cracking cheesecakes. Plus, these treats require minimal ingredients and equipment, so clean-up is a breeze!
The Popularity of Pumpkin-Flavored Treats
Pumpkin and spice—they’re the flavors of the season! From lattes to pies, the autumn months are practically incomplete without these comforting notes. Recipes like this one tap into that nostalgic love for pumpkin while offering a fresh twist. Whether you’re a die-hard pumpkin enthusiast or a newcomer to fall flavors, these cheesecake balls are bound to impress.
Essential Ingredients for No-Bake Pumpkin Cheesecake Balls
Creating no-bake pumpkin cheesecake balls requires just a handful of simple, everyday ingredients. These components work together to deliver a creamy texture, bold pumpkin flavor, and delightful crunch. Let’s break down each one and explore how it contributes to this easy, no-bake recipe.
Key Components and Their Roles
Cream Cheese
The heart of any cheesecake recipe is cream cheese. Its rich, smooth texture forms the base for these delectable treats. Be sure to use full-fat cream cheese for the creamiest results, and let it soften at room temperature for easy mixing.
Pumpkin Puree
Pumpkin puree is the star ingredient, lending its vibrant orange hue and iconic flavor. Opt for 100% pure pumpkin, not pumpkin pie filling, to maintain control over sweetness and spices.
Graham Cracker Crumbs
Graham cracker crumbs bring a subtle crunch and that familiar cheesecake crust flavor, even in these no-bake bites. They also help bind the mixture together, giving the balls structure.
Powdered Sugar
Powdered sugar sweetens the filling without adding graininess, thanks to its fine texture. It blends seamlessly into the mixture, ensuring a smooth finish.
Pumpkin Pie Spice
This spice blend is essential for capturing the warm, aromatic essence of fall. A mix of cinnamon, nutmeg, ginger, and cloves, pumpkin pie spice elevates the flavor of your cheesecake balls.
Vanilla Extract
Vanilla adds depth and rounds out the sweetness. A splash of high-quality pure vanilla extract can make a noticeable difference in flavor.
White Chocolate (for Coating)
The creamy sweetness of white chocolate perfectly complements the tangy filling. Melted and used as a coating, it creates a glossy, professional-looking finish.
Optional Add-Ins and Substitutions
Nuts and Seeds
Add finely chopped pecans or walnuts to the mixture for extra texture and flavor. Crushed seeds like pumpkin or sunflower seeds can be sprinkled on top for a decorative touch.
Alternative Sweeteners
If you’re looking to reduce sugar, try using a natural sweetener like monk fruit or stevia. Be cautious with measurements, as they can be more concentrated than powdered sugar.
Dairy-Free Options
For a vegan twist, use dairy-free cream cheese and a plant-based white chocolate. Swap the graham crackers for a gluten-free or dairy-free version if necessary.
Necessary Equipment and Tools
To whip up your no-bake pumpkin cheesecake balls effortlessly, ensure you have the right tools on hand. This will save you time and make the process seamless.
Mixing Bowls and Utensils
A few medium-sized mixing bowls and a sturdy spatula or spoon will do the trick. These are essential for combining ingredients without a mess.
Measuring Cups and Spoons
Accurate measurements are key to achieving the perfect consistency and flavor balance. A set of standard measuring tools ensures you’re on point every time.
Baking Sheets and Parchment Paper
Once shaped, the cheesecake balls need a flat surface for chilling. Line a baking sheet with parchment paper to prevent sticking and make clean-up a breeze.
Microwave or Double Boiler (for Melting Chocolate)
For a smooth, lump-free chocolate coating, use either a microwave or a double boiler. The microwave is quicker, but a double boiler provides more control over the melting process.
How to Make No-Bake Pumpkin Cheesecake Balls
This step-by-step guide will walk you through crafting no-bake pumpkin cheesecake balls like a pro. With just a few simple steps, you’ll create creamy, spiced treats that look and taste impressive. Let’s get started!
Preparing the Cheesecake Mixture
Softening the Cream Cheese
Begin by setting the cream cheese out at room temperature for about 20–30 minutes. Softened cream cheese blends more easily with other ingredients, preventing lumps. If you’re short on time, you can soften it in the microwave by heating it for 10 seconds at a time until pliable.
Combining Ingredients
In a medium mixing bowl, combine the softened cream cheese and pumpkin puree. Using a hand or stand mixer on medium speed, beat them together until smooth. Add powdered sugar, pumpkin pie spice, and vanilla extract, and mix until all ingredients are evenly incorporated. The graham cracker crumbs come next—fold them in gently using a spatula to avoid overmixing.
Achieving the Right Consistency
The final mixture should be thick and slightly sticky but easy to handle. If it’s too soft, add more graham cracker crumbs one tablespoon at a time. If it feels too dry, a small spoonful of pumpkin puree can help balance it out.
Shaping the Cheesecake Balls
Chilling the Mixture
Before shaping, refrigerate the cheesecake mixture for at least 1–2 hours. Chilling firms up the mixture, making it easier to roll into balls. If you’re pressed for time, pop it in the freezer for 30 minutes instead.
Rolling into Uniform Balls
Once the mixture is chilled, use a small cookie scoop or spoon to portion it out. Roll each portion between your palms to form a smooth ball, about the size of a ping pong ball. Place the balls onto a parchment-lined baking sheet, spacing them slightly apart to avoid sticking.
Coating with Chocolate
Melting the White Chocolate
To melt the white chocolate, break it into small pieces and place it in a microwave-safe bowl. Heat it in 20-second intervals, stirring between each until smooth. Alternatively, use a double boiler to gently melt the chocolate over simmering water, ensuring it doesn’t burn.
Dipping Techniques
Using a fork or dipping tool, lower each cheesecake ball into the melted chocolate, ensuring it’s fully coated. Lift it out and gently tap the fork on the edge of the bowl to remove excess chocolate. Place the coated balls back onto the parchment-lined sheet.
Adding Decorative Toppings
Before the chocolate sets, sprinkle on your desired toppings. Crushed graham crackers, a pinch of pumpkin pie spice, or even a drizzle of dark chocolate work beautifully. Be creative!
Final Chilling and Serving
Setting the Coating
Once all the cheesecake balls are coated, transfer the baking sheet to the refrigerator. Allow them to chill for at least 30 minutes or until the chocolate shell hardens completely.
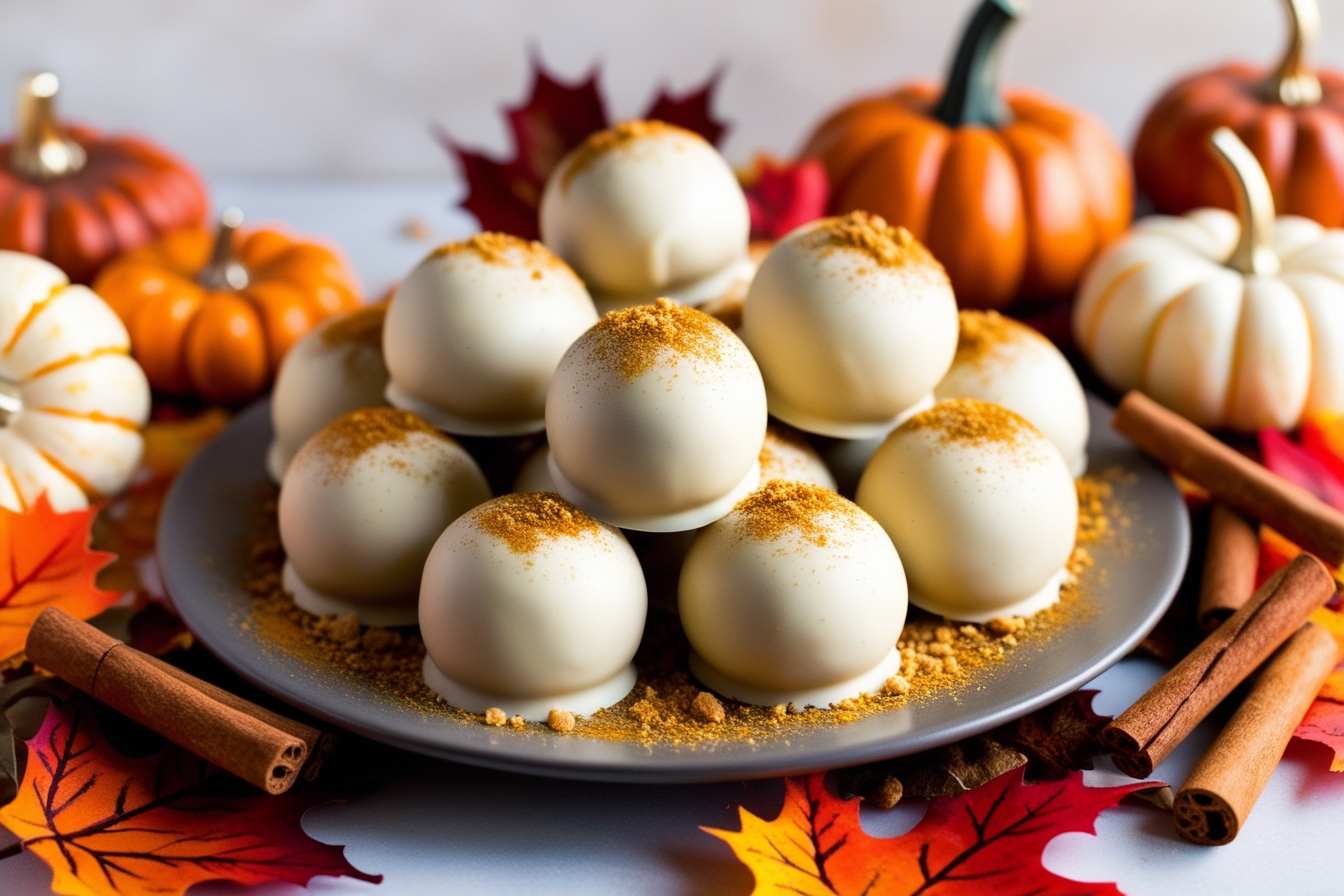
Presentation Tips
For a polished look, arrange the finished cheesecake balls on a decorative platter. Add a small garnish, like a cinnamon stick or some whole spices, to elevate your presentation. Whether served at a party or stored for snacks, they’re bound to impress!
Expert Tips for Making No-Bake Pumpkin Cheesecake Balls
Crafting the perfect no-bake pumpkin cheesecake balls doesn’t have to be complicated, but a few expert tricks can take your recipe to the next level. These tips ensure smooth texture, balanced sweetness, and an overall wow factor in every bite.
Ensuring Smooth Texture
Achieving a silky filling starts with properly softened cream cheese. If your cream cheese isn’t at room temperature, it can leave tiny lumps in the mixture. To avoid this, beat the cream cheese until it’s completely smooth before adding other ingredients. Also, sift the powdered sugar to remove clumps and ensure a velvety consistency.
When mixing, avoid over-stirring once the graham cracker crumbs are added. Overmixing can make the mixture too dense, compromising the creamy texture.
Preventing Excessive Sweetness
Balancing the sweetness of your pumpkin cheesecake balls is key to their success. Powdered sugar is already sweet enough, so taste the mixture after adding the initial amount. If you prefer a more subtle sweetness, reduce the powdered sugar slightly and rely on the pumpkin’s natural flavor to shine.
For toppings, consider using unsweetened options like crushed nuts or a dusting of cinnamon. If you’re using white chocolate, opt for a high-quality brand with a creamy, not overly sugary profile.
Achieving the Ideal Coating Thickness
The chocolate coating is what gives these treats their signature finish, but too much can overpower the filling. To achieve the perfect thickness, tap the dipping tool gently on the edge of the bowl after each dip. This removes excess chocolate, leaving a thin yet sturdy shell.
If your melted chocolate becomes too thick to work with, stir in a small amount of neutral oil (like coconut or vegetable oil) to thin it out. This will make dipping smoother and easier.
Storage and Shelf Life
Refrigeration Guidelines
Store your finished cheesecake balls in an airtight container in the refrigerator. They’ll stay fresh and delicious for up to five days. Place parchment paper between layers to prevent them from sticking together.
Freezing for Extended Storage
For longer storage, freeze the cheesecake balls before coating them with chocolate. Arrange them on a parchment-lined tray, freeze until solid, and then transfer to a freezer-safe bag or container. When ready to use, thaw in the refrigerator and coat with chocolate as usual. These frozen treats can last up to two months!
Creative Variations of No-Bake Pumpkin Cheesecake Balls
One of the best things about no-bake pumpkin cheesecake balls is how versatile they are! While the classic version is always a hit, adding your own twist can make these treats truly special. Here are some creative ways to elevate your cheesecake balls and cater to different tastes.
Chocolate-Coated Pumpkin Balls
While white chocolate is the standard choice for coating, swapping it for milk or dark chocolate creates a more decadent flavor. The slight bitterness of dark chocolate complements the sweetness of the pumpkin filling, creating a delightful balance. For a finishing touch, drizzle melted white chocolate or sprinkle a pinch of sea salt on top.
Cinnamon-Sugar Coating
Skip the chocolate altogether and roll your cheesecake balls in a mix of cinnamon and granulated sugar. This coating adds a crunchy texture and a warm, spicy flavor that screams fall. To make the coating stick better, roll the balls while they’re slightly soft before chilling them fully.
Gingerbread-Inspired Cheesecake Balls
Want to make your treats even more festive? Add a gingerbread twist by incorporating ground ginger, molasses, and a hint of allspice into the cheesecake mixture. Coat the finished balls in crushed gingersnap cookies instead of graham crackers for a holiday-ready dessert.
Incorporating Different Nuts and Spices
Experiment with textures and flavors by adding finely chopped nuts, such as pecans, walnuts, or hazelnuts, to the mixture. These nuts can also be used as a topping for extra crunch. For a spiced variation, play with flavor profiles by adding cardamom, star anise, or a pinch of cayenne pepper for a surprising kick.
How to Serve No-Bake Pumpkin Cheesecake Balls
Serving no-bake pumpkin cheesecake balls is as much fun as making them! Their bite-sized charm and rich flavor make them perfect for a variety of occasions. Whether you’re hosting a cozy family gathering or adding flair to a dessert table, these cheesecake balls are guaranteed to impress.
Ideal Occasions and Settings
These delightful treats shine at fall-themed events like Thanksgiving dinners or autumn potlucks. Arrange them on a rustic wooden tray or tiered dessert stand to match the seasonal vibe. They’re also great for casual snacking, holiday parties, or as edible gifts packaged in decorative boxes.
For a more elegant presentation, serve them on individual plates with a sprinkle of crushed graham crackers and a dollop of whipped cream.
Beverage Pairings
Coffee and Espresso
Rich, creamy cheesecake pairs beautifully with the bold flavors of coffee. An espresso shot or a cup of cappuccino brings out the warm spices in the pumpkin filling.
Hot Chocolate
For a more indulgent pairing, serve these cheesecake balls alongside a mug of thick, velvety hot chocolate. Add a dash of cinnamon or nutmeg to the drink to complement the flavors.
Mulled Cider
Warm, spiced apple cider is a festive and non-caffeinated option that enhances the pumpkin and spice notes in the dessert.
Complementary Desserts
Pair these cheesecake balls with other autumn-inspired treats to create a dessert platter. Pumpkin cookies, spiced apple tarts, or pecan pie bites make excellent companions. For a contrasting texture, include some crispy biscotti or buttery shortbread cookies on the side.
Nutritional Breakdown of No-Bake Pumpkin Cheesecake Balls
If you’re curious about the nutritional profile of these no-bake pumpkin cheesecake balls, you’re not alone. While they’re undeniably indulgent, you can enjoy them in moderation or tweak the recipe for a lighter treat. Let’s break it down!
Calorie Count per Serving
On average, one cheesecake ball contains approximately 100–150 calories, depending on the size and coating. The exact count varies based on the ingredients and portion sizes, but these treats are rich enough to satisfy sweet cravings without overindulgence.
Macronutrient Composition
Each cheesecake ball provides a balance of macronutrients:
- Carbohydrates: The graham crackers and powdered sugar contribute to most of the carbs.
- Fats: Cream cheese and white chocolate offer a creamy dose of fats, adding to the dessert’s satisfying richness.
- Proteins: While not a high-protein snack, the cream cheese does contribute a small amount.
Tips for Reducing Calories and Sugar
Want to make a lighter version? Here’s how:
- Cut back on sugar by using a sugar substitute like erythritol or monk fruit sweetener.
- Use reduced-fat cream cheese to lower the fat content without sacrificing texture.
- Opt for dark chocolate coating instead of white chocolate for fewer calories and less sugar.
- Replace graham cracker crumbs with almond flour for a lower-carb option.