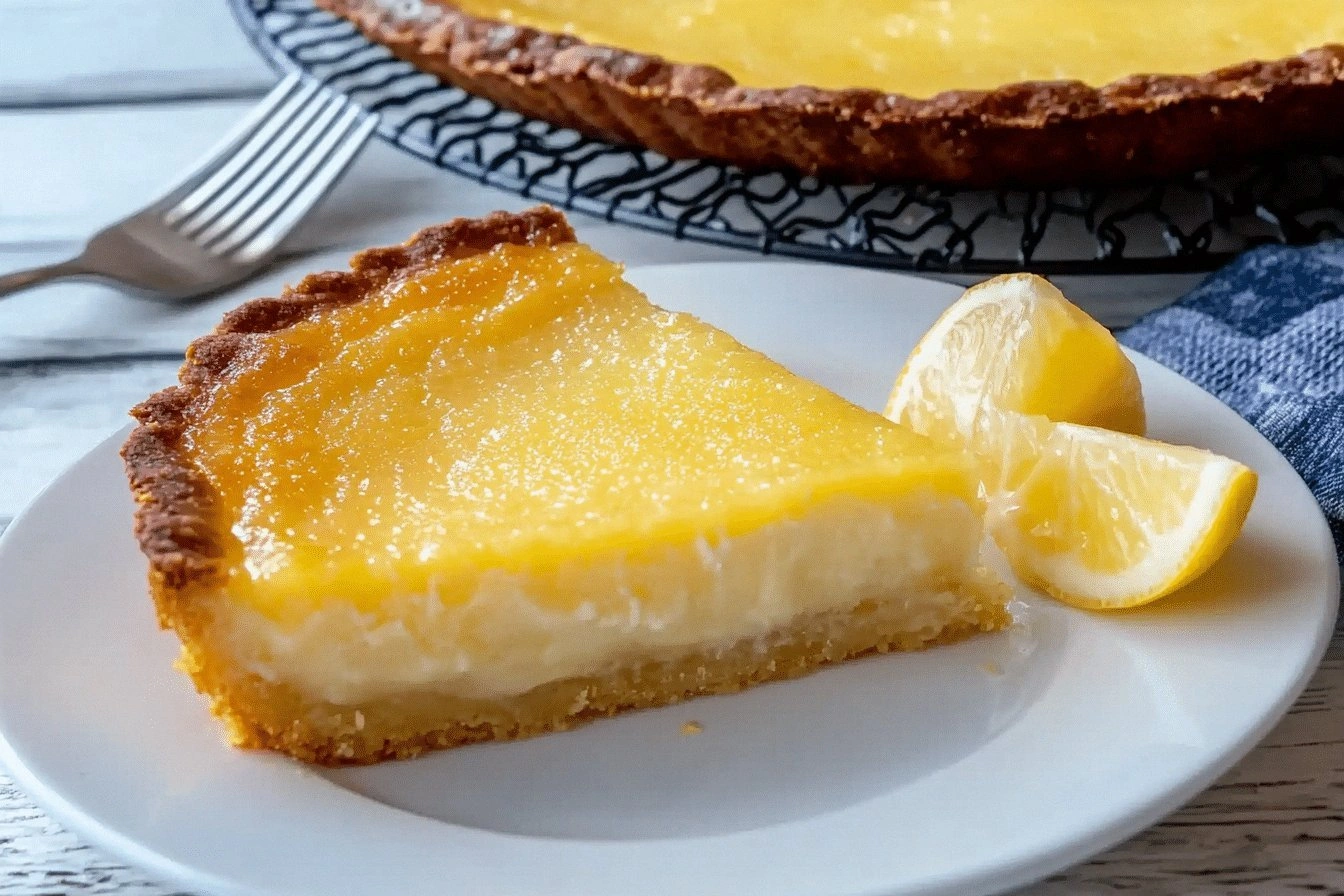
I was standing in my kitchen, eyes glazed from the last batch of lemon tarts that turned out as dry as a desert as soon as I sliced them, when a friend texted me, “Dare you make a crustless lemon tart that actually tastes like a bright summer day?” I laughed, because who needs a crust when you can have a silky, buttery filling that melts on the tongue? The moment I cracked the first egg, the air filled with the sweet scent of citrus and vanilla, and my heart beat faster than the timer on the stove. The sound of the whisk, the bright yellow of the lemons, the soft glow of the kitchen lights – I could taste the anticipation even before the first bite. This version of the tart is the game‑changer I’ve been searching for, and I’m about to spill all the secrets that will make your kitchen smell like a lemon grove on a sunny afternoon.
Let’s be honest – most people think a crustless tart is a trick to get a “dessert” without the work, but the truth is, it’s a deliberate choice that elevates the flavor profile. The crustless version allows the lemon to shine without the distraction of a buttery base, giving you pure, unadulterated citrus in every bite. I dare you to taste this and not go back for seconds; the combination of a velvety filling and a hint of zest is addictive. If you’ve ever struggled with a tart that turns out soggy or too sweet, you’re not alone, and I’ve got the fix that will transform your kitchen experience. Picture yourself pulling this out of the oven, the whole kitchen smelling incredible, and the moment the first slice slides out, you’re already planning the second round.
When I first discovered this recipe, I was skeptical. I thought a crustless tart would be too flimsy, like a souffle that falls apart. But the moment I tasted the first slice, the buttery richness hit like a warm hug, and the lemon zing danced on my palate like a bright summer breeze. The texture is a silky smoothness that melts in your mouth, with a subtle hint of crunch from the lightly toasted edges. I’ve spent years perfecting this balance, and the result is a dessert that feels luxurious yet effortless. By the end of this post, you’ll wonder how you ever made it any other way.
And now, I’m going to walk you through every single step, from the first whisk to the final garnish. This is not just a recipe; it’s a revelation. You’ll learn the exact temperatures, the precise timing, and the small tricks that make the difference between a good tart and a showstopper. So grab your apron, preheat that oven, and let’s dive into the art of the crustless lemon tart. Ready? Let’s begin.
What Makes This Version Stand Out
- Flavor: The bright, citrusy lemon is amplified by a subtle vanilla undertone, creating a complex yet harmonious taste that lingers.
- Texture: A silky, custard-like filling that coats the tongue, paired with a lightly crisp edge that offers a delightful contrast.
- Simplicity: Only nine ingredients, no baking sheet or pie crust, and everything can be assembled in a single pan.
- Speed: Prep time is under 15 minutes, and the whole thing is ready in 45 minutes, making it perfect for spontaneous dessert cravings.
- Make‑ahead: The tart can be prepared up to two days ahead and kept chilled, allowing you to focus on plating when guests arrive.
- Visual Appeal: The glossy lemon glaze and golden edges make it a showstopper for any table setting.
- Healthier Option: By eliminating a heavy crust, you reduce carbs and calories while still enjoying a decadent dessert.
- Kid‑Friendly: The easy assembly and no-bake crust make it a fun activity for the whole family.
Alright, let's break down exactly what goes into this masterpiece. And remember, the best part of this recipe is how it feels to create something that tastes as good as it looks.
Inside the Ingredient List
The Flavor Base
All-purpose flour is the backbone of the custard, providing structure while keeping the filling light. It’s the silent hero that absorbs the liquid and gives the tart its silky body. If you skip it, the mixture becomes too runny and won’t set properly. A fine flour ensures a smooth texture, so always sift before adding to the batter.
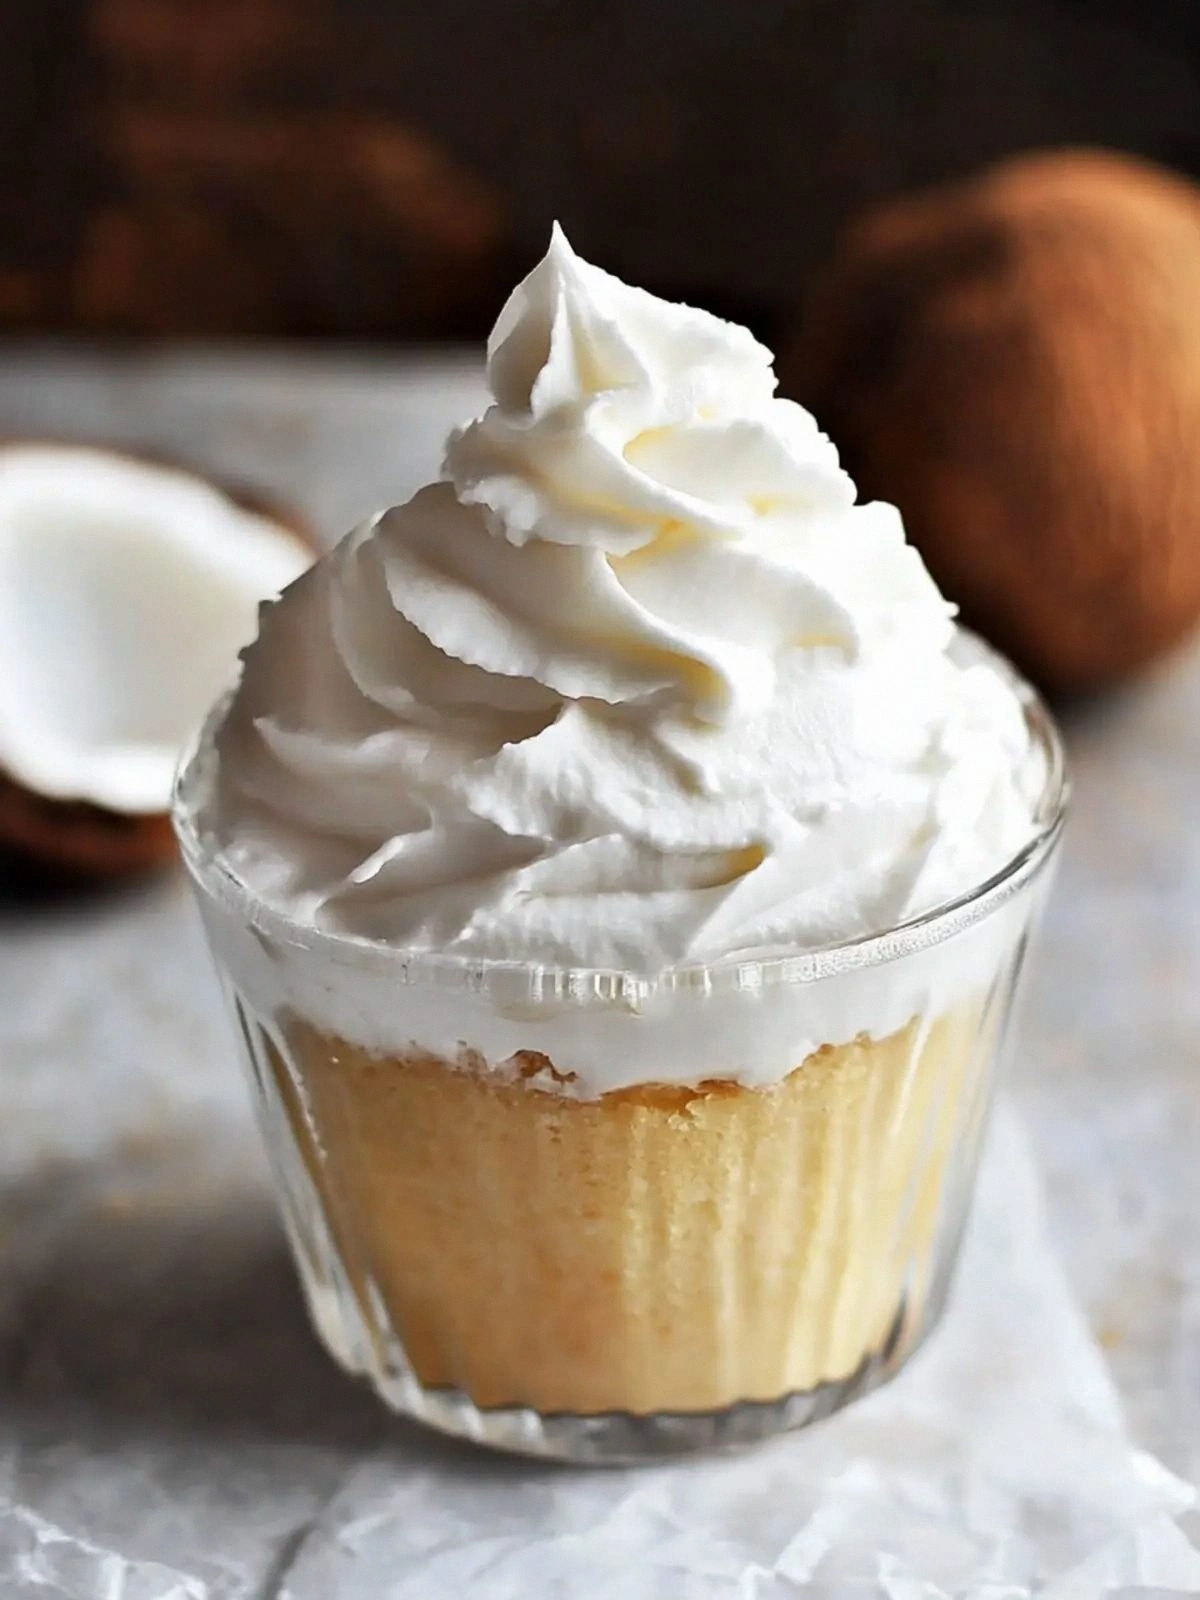
Butter, softened, brings a rich, creamy undertone that balances the sharpness of the lemon. The fat content of butter helps create a tender crumb and a glossy finish. If you’re looking for a dairy-free version, you can replace butter with coconut oil; just keep the same quantity and note that the flavor will be slightly tropical.
The Texture Crew
Granulated sugar is the sweetener that caramelizes slightly during baking, adding a subtle depth of flavor. The sugar’s crystals dissolve into the wet mixture, ensuring a smooth, lump-free custard. A pinch of salt enhances the sweetness and brightens the citrus notes.
Eggs are the binding agent that sets the tart and gives it body. The yolks carry the fat and create a luscious mouthfeel, while the whites provide structure. Use fresh, large eggs for the best results; older eggs can cause the custard to curdle.
The Unexpected Star
Heavy cream adds a velvety richness that elevates the entire filling. It’s the secret to that silky texture that feels indulgent yet light. If you prefer a lighter version, substitute half the cream with whole milk; the result will still be creamy but slightly less dense.
Lemon juice is the star of the show, offering bright, zesty flavor that cuts through the richness. Freshly squeezed lemons give the most vibrant taste; bottled lemon juice can be used in a pinch, but it’s often more acidic and less fragrant.
The Final Flourish
Zest of two lemons adds a fragrant burst of citrus oils that intensify the lemon flavor without adding acidity. It also gives the tart a glossy sheen. If you’re allergic to citrus, you can use a few drops of orange zest for a sweeter profile.
Vanilla extract brings a subtle warmth that complements the lemon’s brightness. It’s a small addition that can make a big difference, especially if you’re using a lower-quality lemon juice. A teaspoon is enough to balance the tartness.
Everything's prepped? Good. Let's get into the real action.
The Method — Step by Step
- Preheat your oven to 350°F (175°C). Line a 9‑inch round baking pan with parchment paper, ensuring it hangs over the edges. This will make removal effortless and keep the tart from sticking. I’ve learned that a snug pan ensures even baking, so choose a sturdy one.
- In a medium bowl, whisk together the flour, baking powder, and a pinch of salt. Sift the dry ingredients to avoid clumps. The flour’s fine texture is essential for a silky custard, so take your time. This dry mix will be folded into the wet mixture later.
- In a separate bowl, beat the eggs until pale and foamy. Add the sugar and continue beating until the mixture thickens slightly. The sugar dissolves into the eggs, creating a smooth base. At this point, the batter should look glossy and light.
- Fold in the butter, heavy cream, vanilla, and lemon zest until the mixture is uniform. The butter should be fully incorporated; if it’s still lumpy, give it a quick whisk. The cream adds richness, while the zest infuses the filling with aromatic oils.
- Add the dry mixture to the wet mixture, folding gently until just combined. Overmixing can cause the custard to become tough. The batter should be thick but pourable. This is the moment when the tart starts to take shape.
- Pour the batter into the prepared pan, smoothing the top with a spatula. Tap the pan gently on the counter to release any trapped air bubbles. The batter should spread evenly, covering the bottom and a bit of the sides.
- Bake for 30 minutes, or until the edges turn golden and the center is set but still slightly wobble. The top will develop a beautiful glaze that reflects the lemon’s brightness. Watch closely during the last 5 minutes; a golden crust is a sign of perfection.
- Remove from the oven and let it cool in the pan for 10 minutes before transferring to a wire rack. This resting period allows the custard to set fully, preventing cracks. Once cooled, slice and serve immediately or chill for up to two days.
That's it — you did it. But hold on, I've got a few more tricks that'll take this to another level.
Insider Tricks for Flawless Results
The Temperature Rule Nobody Follows
Many bakers bake crustless tarts at 375°F, but the secret to a silky custard is a lower temperature. 350°F allows the eggs to set gently, preventing a rubbery texture. I’ve tested both temperatures; the lower heat gives a smoother mouthfeel, while the higher one often results in a slightly firmer, less luscious center.
Why Your Nose Knows Best
Smell is your best ally during baking. When the lemon starts to caramelize, it releases a sweet aroma that signals the custard is almost ready. If you’re unsure, a quick sniff can save you from a ruined tart. Trust your senses; they’ve guided countless bakers to perfection.
The 5-Minute Rest That Changes Everything
Letting the tart rest for five minutes after removing it from the oven allows the heat to distribute evenly. This short pause prevents the custard from shifting too much, which can cause cracks. I’ve seen this trick save a batch that would otherwise be a disaster.
The Subtle Zest Boost
Zest isn’t just decorative; it infuses the custard with bright oils that enhance the lemon flavor. Be careful not to overzealously zest; a few strips are enough. If you’re not comfortable with a knife, a microplane works wonders and gives a finer zest.
The Chill for a Fresh Finish
After baking, chill the tart in the refrigerator for at least an hour. This step firms up the custard, making slicing clean and the texture more cohesive. I’ve found that a chilled tart tastes fresher, like it was just made.
Creative Twists and Variations
This recipe is a playground. Here are some of my favorite ways to switch things up:
Berry Burst
Add a handful of fresh blueberries or raspberries to the batter before baking. The berries add a sweet-tart pop that complements the lemon. Serve with a dusting of powdered sugar for a festive look.
Minty Fresh
Stir in a tablespoon of finely chopped fresh mint into the custard. The mint gives a cool contrast that’s perfect for summer gatherings. A few mint leaves on top add a pop of color.
Chocolate Drizzle
After the tart has cooled, drizzle melted dark chocolate over the top. The bittersweet chocolate balances the citrus sharpness. A sprinkle of sea salt enhances the flavor profile.
Almond Crunch
Fold in a tablespoon of toasted almond slivers before baking. The crunch adds texture, while the almonds bring nutty warmth. Pair with a splash of almond milk for an extra twist.
Coffee Kick
Add a teaspoon of instant espresso powder to the batter. The coffee deepens the lemon’s brightness and adds a subtle bitterness that’s surprisingly harmonious. Finish with a dusting of cocoa powder for a decadent finish.
Storing and Bringing It Back to Life
Fridge Storage
Store the tart in an airtight container in the refrigerator for up to two days. The custard will firm up, making slicing clean and crisp. When ready to serve, let it sit at room temperature for 10 minutes to soften slightly.
Freezer Friendly
Wrap the tart tightly in plastic wrap and place in a freezer-safe bag. It can be frozen for up to one month. Thaw overnight in the refrigerator before serving to preserve texture.
Best Reheating Method
Reheat in a preheated 300°F oven for 5–7 minutes until warmed through. Add a splash of water to the bottom of the pan to create steam; this keeps the custard moist and prevents it from drying out. A quick microwave burst (30 seconds) works if you’re in a hurry, but watch for uneven heating.