Vanilla Ice Cream
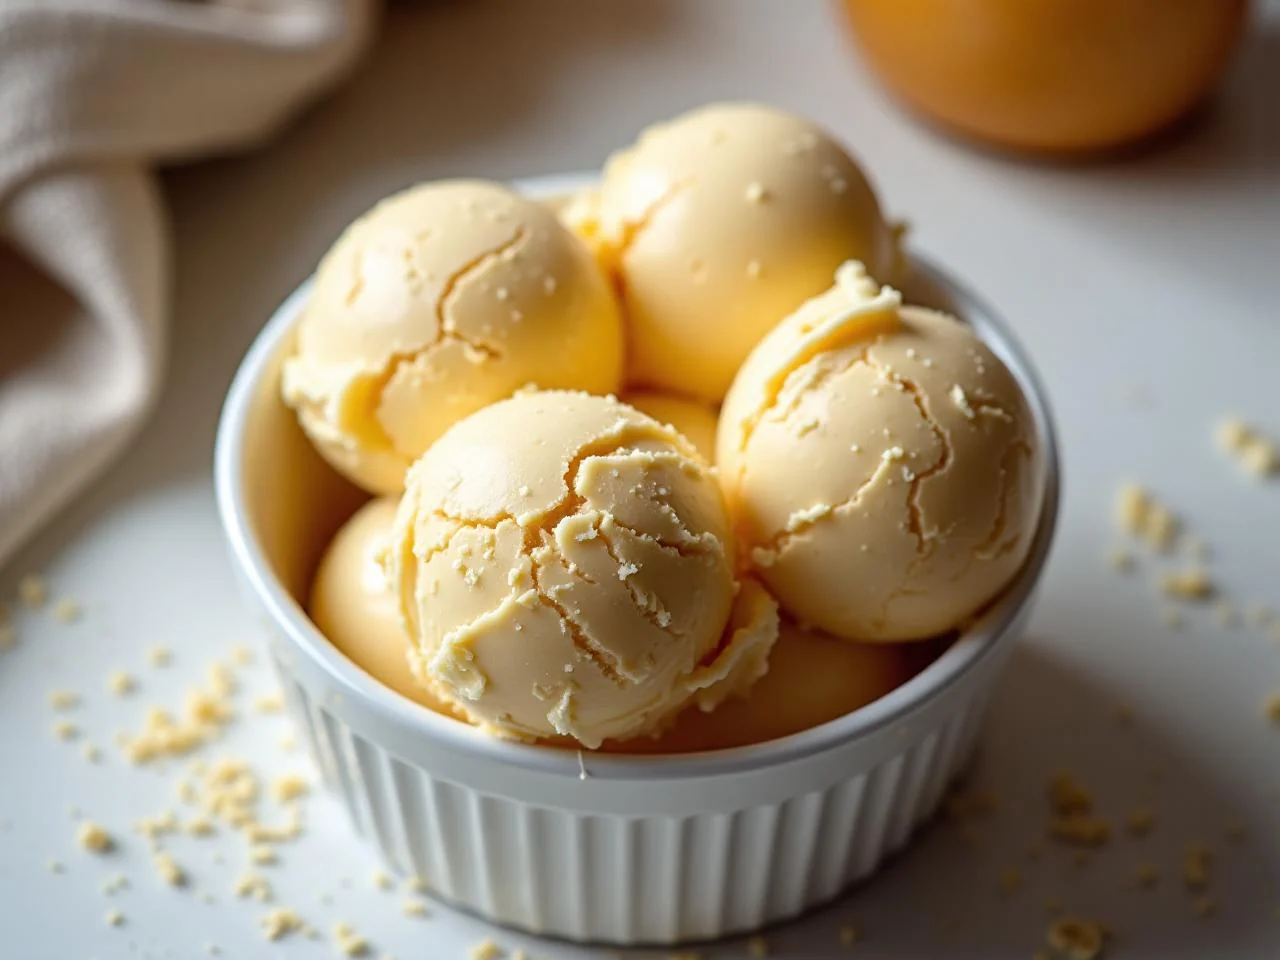
There's something special about a scoop of homemade vanilla ice cream that just can't be beat. Maybe it's the way the creamy texture melts in your mouth, or the deep, rich flavor of real vanilla beans. Whatever the reason, I'm hooked on making my own ice cream at home, and I think you will be too once you try this recipe.
I remember the first time I made ice cream from scratch - it was a game-changer. The process was surprisingly easy, and the end result was so much better than anything I'd ever bought in a store. Since then, I've experimented with all sorts of flavors and techniques, but vanilla remains my favorite. There's just something about the simplicity and elegance of a well-made vanilla ice cream that never gets old.
This recipe is perfect for anyone who loves ice cream but has never tried making it at home. The process is straightforward, and the ingredients are easy to find. Plus, the end result is well worth the effort - a delicious, creamy ice cream that's perfect for hot summer days, special occasions, or just a quick treat any time of the year.
One of the things I love about this recipe is that it's incredibly versatile. You can enjoy it on its own, or use it as a base for all sorts of other flavors and toppings. Try mixing in some chopped nuts or candy pieces for added texture and flavor, or using it as a topping for cakes, pies, or other desserts. The possibilities are endless, and I'm excited to see what you come up with!
So why make your own ice cream at home? For one thing, it's a great way to control the ingredients and the quality of the final product. Store-bought ice cream can be full of additives and preservatives, but when you make it yourself, you can choose exactly what goes in and what stays out. Plus, homemade ice cream just tastes better - the flavors are richer and more nuanced, and the texture is always creamy and smooth.
Why You’ll Love This Recipe
- This recipe is easy to make and requires minimal special equipment
- The end result is a delicious, creamy ice cream that's perfect for any occasion
- You can customize the recipe to your taste by adding different mix-ins or flavorings
- Homemade ice cream is a great way to control the ingredients and the quality of the final product
- This recipe is perfect for hot summer days, special occasions, or just a quick treat any time of the year
- The possibilities for mix-ins and toppings are endless, so you can get creative and have fun with it
Why This Recipe Works
The key to making great ice cream is to start with high-quality ingredients and to pay attention to the details of the process. In this recipe, we're using real vanilla beans for the best possible flavor, and taking the time to temper the eggs and cook the custard slowly and carefully. This ensures that the ice cream is smooth and creamy, with a rich, velvety texture that's just perfect for scooping.
Another important factor is temperature control. We're using an ice bath to cool the custard quickly and efficiently, which helps to prevent the growth of ice crystals and ensures that the final product is smooth and even. And of course, we're churning the ice cream in an ice cream maker, which incorporates air and breaks down the ice crystals to create a light, creamy texture.
Finally, it's all about the aging process. We're letting the ice cream sit in the freezer for at least two hours before serving, which allows the flavors to mature and the texture to set. This is an important step, as it makes all the difference in the final product - so be patient and don't rush it!
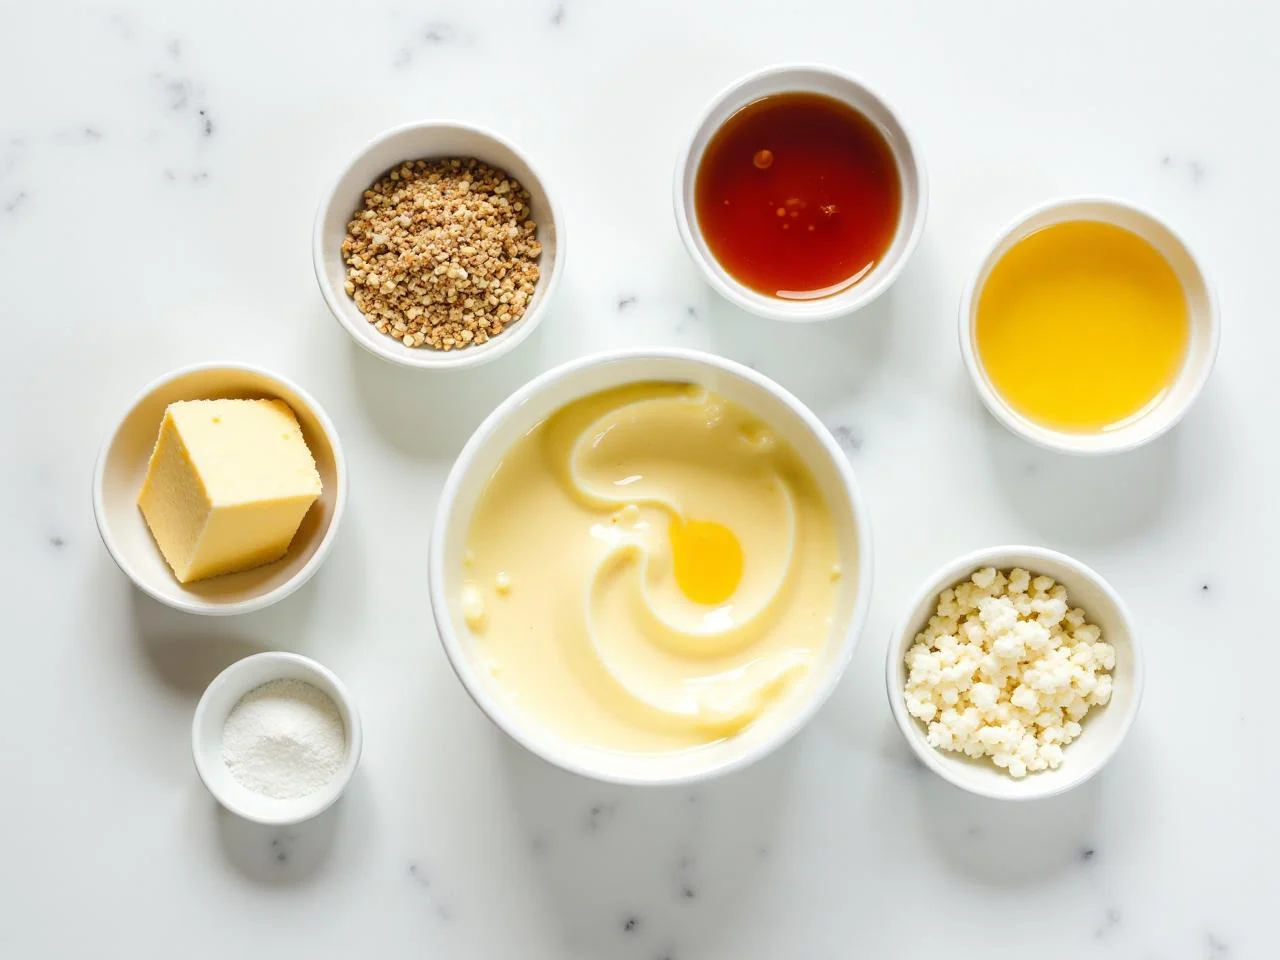
Ingredients You’ll Need
To make this recipe, you'll need a few basic ingredients, including cream, milk, sugar, and vanilla beans. You'll also need some eggs, which we'll be using to make a rich and creamy custard. Don't worry if you've never made a custard before - it's easier than you think, and the end result is well worth the effort.
When it comes to choosing your ingredients, be sure to select the best quality you can find. This will make all the difference in the final product, and will ensure that your ice cream is rich, creamy, and full of flavor. For the vanilla beans, look for ones that are plump and fragrant, with a deep, rich aroma. And for the cream and milk, choose organic or locally sourced options if possible - they'll have a better flavor and a richer texture.
- 2 cups (475ml) heavy creamWe're using heavy cream for the richest, creamiest texture possible. Look for a high-quality, organic option if you can find one.
- 1 cup (235ml) whole milkWhole milk adds a touch of sweetness and a creamy texture to the ice cream. You can also use low-fat or nonfat milk if you prefer, but keep in mind that the flavor and texture may be slightly different.
- 1/2 cup (115g) granulated sugarGranulated sugar adds a touch of sweetness to the ice cream without overpowering the other flavors. You can also use other types of sugar, such as brown sugar or turbinado sugar, if you prefer.
- 3 large egg yolksEgg yolks are the key to making a rich and creamy custard. We're using three large egg yolks for the best possible flavor and texture.
- 1/2 teaspoon kosher saltA touch of salt enhances the flavors of the other ingredients and adds depth to the ice cream. Use a high-quality, flaky salt like kosher salt for the best flavor.
- 1/2 teaspoon pure vanilla extractPure vanilla extract adds a deep, rich flavor to the ice cream. Look for a high-quality extract that's made from real vanilla beans.
- 1/2 vanilla bean, split lengthwiseA real vanilla bean adds the best possible flavor to the ice cream. Look for a plump, fragrant bean with a deep, rich aroma.
- 1/4 teaspoon ground vanilla bean powderVanilla bean powder adds an extra touch of flavor to the ice cream. You can omit this ingredient if you don't have it, but it's worth seeking out for the best possible flavor.
- 1/4 cup (55g) unsalted butter, meltedMelted butter adds a touch of richness and flavor to the ice cream. Use a high-quality, unsalted butter for the best flavor.
- 1 cup (120g) iceIce is necessary for chilling the custard and freezing the ice cream. You can use ice cubes or crushed ice, depending on your preference.
Equipment You’ll Need
How to Make Vanilla Ice Cream
- 1In a medium saucepan, combine the heavy cream, whole milk, granulated sugar, and kosher salt. Heat over medium heat, stirring occasionally, until the sugar has dissolved and the mixture is hot but not boiling.
- 2In a small bowl, whisk together the egg yolks. Gradually add a little of the warm cream mixture to the egg yolks, whisking constantly to prevent the eggs from scrambling.
- 3Once the eggs are tempered, gradually add the egg yolk mixture to the saucepan with the cream mixture, whisking constantly to prevent lumps.
- 4Continue to heat the mixture over medium heat, stirring constantly, until it thickens and coats the back of a spoon, about 10-12 minutes.
- 5Remove the saucepan from the heat and stir in the melted butter, pure vanilla extract, and ground vanilla bean powder. Let it cool to room temperature.
- 6Cover the saucepan with plastic wrap and refrigerate the mixture for at least 2 hours or overnight to allow it to chill and mature.
- 7Once the mixture is chilled, remove it from the refrigerator and pour it into an ice cream maker. Churn the ice cream according to the manufacturer's instructions.
- 8During the last 2 minutes of churning, add the split vanilla bean to the ice cream and continue to churn until it is fully incorporated.
- 9Transfer the ice cream to a freezer-safe container with a lid and cover it with plastic wrap or aluminum foil. Place the container in the freezer to harden for at least 2 hours.
- 10Once the ice cream is hardened, scoop it into bowls and serve immediately. You can also store it in the freezer for up to 3 days.
- 11If you don't have an ice cream maker, you can also freeze the mixture in a 9x13 inch (23x33cm) baking dish, stirring it every 30 minutes until it is frozen solid, about 2-3 hours.
- 12To make the ice cream without an ice cream maker, you will need to stir it every 30 minutes to break up any ice crystals that form. This will help to create a smooth and creamy texture.
- 13After 2-3 hours, the ice cream should be frozen solid and ready to scoop. Transfer it to a freezer-safe container with a lid and cover it with plastic wrap or aluminum foil. Store it in the freezer for up to 3 days.
Expert Tips
- For the best flavor, use high-quality ingredients, including real vanilla beans and pure vanilla extract.
- Temper the eggs carefully to prevent them from scrambling when you add them to the hot cream mixture.
- Don't over-churn the ice cream, as this can create a grainy or icy texture.
- If you're using an ice cream maker, be sure to follow the manufacturer's instructions for churning and freezing the ice cream.
- Experiment with different mix-ins, such as nuts, candy pieces, or fruit, to create unique and delicious flavor combinations.
- For a lighter texture, you can add a little more air to the ice cream by whipping it with a hand mixer or whisk before freezing.
- To prevent ice crystals from forming, be sure to stir the ice cream every 30 minutes if you're freezing it without an ice cream maker.
- For the best flavor, let the ice cream mature in the freezer for at least 2 hours before serving.
Common Mistakes to Avoid
- Not tempering the eggs properly, which can cause them to scramble when you add them to the hot cream mixture.
- Over-churning the ice cream, which can create a grainy or icy texture.
- Not using high-quality ingredients, which can result in a bland or unflavorful ice cream.
- Not stirring the ice cream every 30 minutes if you're freezing it without an ice cream maker, which can cause ice crystals to form.
- Not letting the ice cream mature in the freezer for at least 2 hours before serving, which can result in a icy or grainy texture.
- Not using the correct ratio of cream to milk, which can affect the texture and flavor of the ice cream.
Variations and Substitutions
- Add a teaspoon of liqueur, such as Grand Marnier or Cognac, to the ice cream for a grown-up twist.
- Mix in some chopped nuts, such as almonds or walnuts, for added texture and flavor.
- Use a different type of milk, such as almond or soy milk, for a non-dairy ice cream.
- Add a handful of cocoa powder to the ice cream for a chocolatey twist.
- Mix in some diced fruit, such as strawberries or raspberries, for a sweet and fruity flavor combination.
- Use a different type of sugar, such as brown sugar or turbinado sugar, for a unique flavor profile.
- Add a sprinkle of sea salt to the ice cream for a touch of salty flavor.
What to Serve With Vanilla Ice Cream
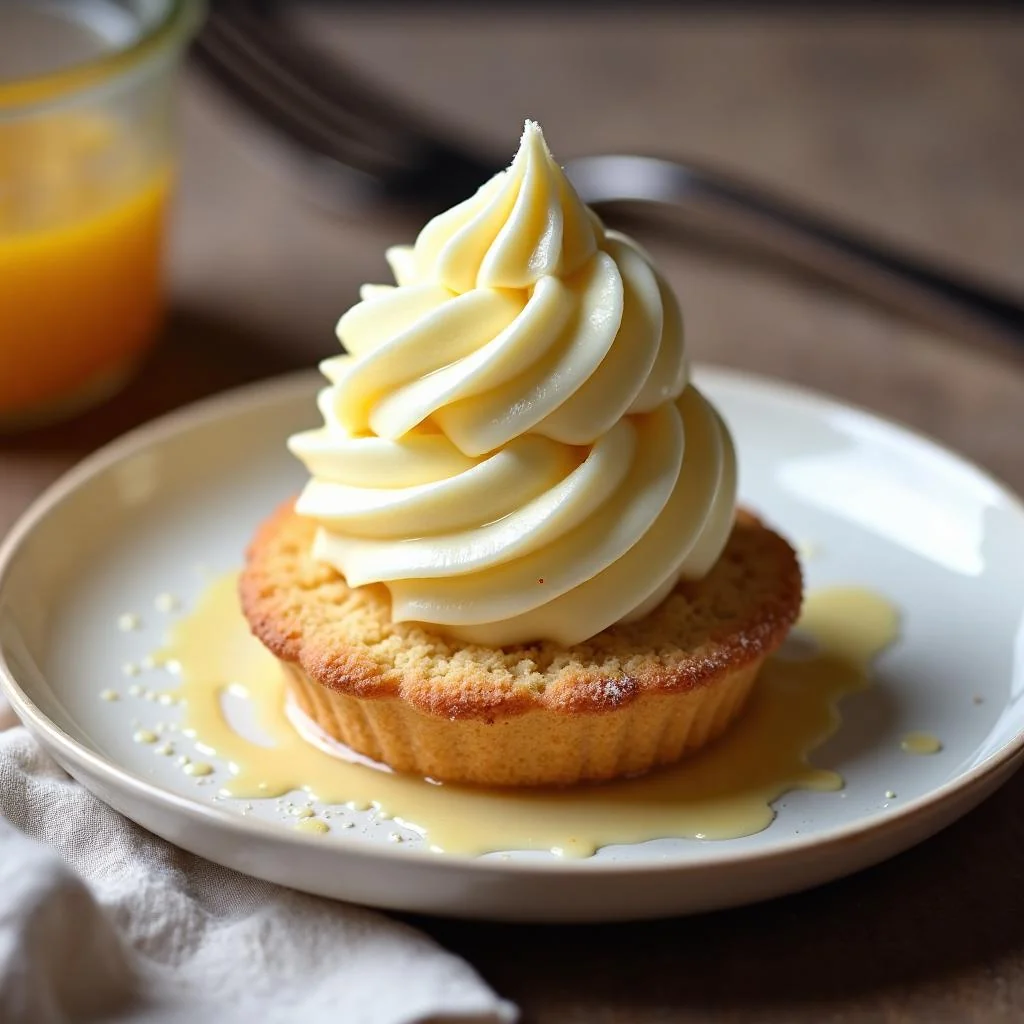
Vanilla ice cream is a versatile dessert that can be served in a variety of ways. Enjoy it on its own, or use it as a base for other flavors and toppings. Try mixing in some chopped nuts or candy pieces for added texture and flavor, or using it as a topping for cakes, pies, or other desserts.
Some ideas for serving vanilla ice cream include: serving it in a cone or bowl, topping it with whipped cream and a cherry, using it as a base for sundaes or milkshakes, or serving it alongside a slice of pie or cake.
Make-Ahead, Storage, Freezing and Reheating
Once the ice cream is frozen solid, transfer it to a freezer-safe container with a lid and cover it with plastic wrap or aluminum foil. Store it in the freezer for up to 3 days.
To prevent ice crystals from forming, be sure to stir the ice cream every 30 minutes if you're freezing it without an ice cream maker. You can also add a little more air to the ice cream by whipping it with a hand mixer or whisk before freezing.
If you're not planning to serve the ice cream immediately, you can also store it in the refrigerator for up to 2 days before freezing. Just be sure to give it a good stir before serving to ensure that the flavors are well combined.
To reheat the ice cream without drying it out, simply let it sit at room temperature for 10-15 minutes before serving. You can also microwave it for a few seconds to soften it, but be careful not to overheat it.
Frequently Asked Questions
What type of milk is best to use for this recipe?
You can use whole, low-fat, or nonfat milk for this recipe, depending on your preference. Keep in mind that the flavor and texture may be slightly different depending on the type of milk you use.
Can I use a different type of sugar?
Yes, you can use a different type of sugar, such as brown sugar or turbinado sugar, if you prefer. Just keep in mind that the flavor may be slightly different.
How long does it take to make this recipe?
The recipe takes about 10-15 minutes to prepare, and then you'll need to chill it in the refrigerator for at least 2 hours before freezing. The freezing time will depend on the type of ice cream maker you're using, but it's usually around 2-3 hours.
Can I make this recipe without an ice cream maker?
Yes, you can make this recipe without an ice cream maker. Simply freeze the mixture in a 9x13 inch (23x33cm) baking dish, stirring it every 30 minutes until it is frozen solid, about 2-3 hours.
How long can I store this ice cream in the freezer?
You can store this ice cream in the freezer for up to 3 days. Just be sure to transfer it to a freezer-safe container with a lid and cover it with plastic wrap or aluminum foil to prevent ice crystals from forming.
Can I customize this recipe with different mix-ins or flavorings?
Yes, you can customize this recipe with different mix-ins or flavorings. Try mixing in some chopped nuts, candy pieces, or fruit for added texture and flavor, or using a different type of extract or liqueur for a unique flavor profile.
What is the best way to scoop this ice cream?
The best way to scoop this ice cream is to use a warm scoop or spoon, as this will help to prevent the ice cream from breaking or becoming too hard. You can also let the ice cream sit at room temperature for 10-15 minutes before serving to soften it slightly.
Can I make this recipe ahead of time?
Yes, you can make this recipe ahead of time. Simply prepare the mixture and chill it in the refrigerator for at least 2 hours before freezing. You can also freeze the ice cream for up to 3 days before serving.
Ingredients
- 2 cups (475ml) heavy cream
- 1 cup (235ml) whole milk
- 1/2 cup (115g) granulated sugar
- 3 large egg yolks
- 1/2 teaspoon kosher salt
- 1/2 teaspoon pure vanilla extract
- 1/2 vanilla bean, split lengthwise
- 1/4 teaspoon ground vanilla bean powder
- 1/4 cup (55g) unsalted butter, melted
- 1 cup (120g) ice
Instructions
- In a medium saucepan, combine the heavy cream, whole milk, granulated sugar, and kosher salt. Heat over medium heat, stirring occasionally, until the sugar has dissolved and the mixture is hot but not boiling.
- In a small bowl, whisk together the egg yolks. Gradually add a little of the warm cream mixture to the egg yolks, whisking constantly to prevent the eggs from scrambling.
- Once the eggs are tempered, gradually add the egg yolk mixture to the saucepan with the cream mixture, whisking constantly to prevent lumps.
- Continue to heat the mixture over medium heat, stirring constantly, until it thickens and coats the back of a spoon, about 10-12 minutes.
- Remove the saucepan from the heat and stir in the melted butter, pure vanilla extract, and ground vanilla bean powder. Let it cool to room temperature.
- Cover the saucepan with plastic wrap and refrigerate the mixture for at least 2 hours or overnight to allow it to chill and mature.
- Once the mixture is chilled, remove it from the refrigerator and pour it into an ice cream maker. Churn the ice cream according to the manufacturer's instructions.
- During the last 2 minutes of churning, add the split vanilla bean to the ice cream and continue to churn until it is fully incorporated.
- Transfer the ice cream to a freezer-safe container with a lid and cover it with plastic wrap or aluminum foil. Place the container in the freezer to harden for at least 2 hours.
- Once the ice cream is hardened, scoop it into bowls and serve immediately. You can also store it in the freezer for up to 3 days.
- If you don't have an ice cream maker, you can also freeze the mixture in a 9x13 inch (23x33cm) baking dish, stirring it every 30 minutes until it is frozen solid, about 2-3 hours.
- To make the ice cream without an ice cream maker, you will need to stir it every 30 minutes to break up any ice crystals that form. This will help to create a smooth and creamy texture.
- After 2-3 hours, the ice cream should be frozen solid and ready to scoop. Transfer it to a freezer-safe container with a lid and cover it with plastic wrap or aluminum foil. Store it in the freezer for up to 3 days.